Connecting your Raspberry Pi behind a router is easier than you might think. Whether you're setting up a home server, a media center, or just experimenting with IoT devices, understanding how to configure your Raspberry Pi correctly can make all the difference. In this guide, we'll walk you through everything you need to know to get your Pi up and running securely behind your router.
Imagine this: you've just unboxed your shiny new Raspberry Pi, and you're ready to dive into the world of tech. But wait—how do you connect it to your network? This isn't your average desktop computer, after all. Don't worry; we've got you covered. In this article, we'll explore step-by-step methods to connect your Raspberry Pi behind your router, ensuring it's both secure and functional.
Connecting a Raspberry Pi to your router may sound intimidating, but trust me, it's not rocket science. With the right knowledge and tools, you'll be up and running in no time. So, grab a cup of coffee, sit back, and let's get started on this tech journey together.
Read also:What Cancer Did Marcia Cross Have Unveiling The Truth Behind Her Battle
Why Connect Raspberry Pi Behind Router?
Let's start by answering the obvious question—why go through the trouble of connecting your Raspberry Pi behind a router? Well, there are several reasons. First, it adds an extra layer of security to your device. By sitting behind your router, your Pi is shielded from direct internet access, which reduces the risk of unauthorized access. Second, it simplifies network management. You can assign static IPs, manage traffic, and even set up port forwarding if needed.
Another benefit is convenience. Most modern routers come with built-in DHCP servers, which automatically assign IP addresses to devices on your network. This means you don't have to manually configure your Pi's IP settings every time you reboot it. Plus, connecting through a router allows you to access your Pi remotely, whether you're at home or on the go.
Things to Consider Before Connecting
Before diving headfirst into the setup process, there are a few things you should consider. For starters, make sure your Raspberry Pi is properly configured. This includes installing the correct operating system, updating all software, and ensuring your hardware is functioning correctly. Additionally, familiarize yourself with your router's admin interface, as you'll need to access it to configure certain settings.
Check Your Network Setup
Take a moment to assess your current network setup. Are you using a wired or wireless connection? Does your router support the latest Wi-Fi standards? Knowing these details will help you determine the best approach for connecting your Raspberry Pi. If you're unsure, don't hesitate to consult your router's manual or reach out to your internet service provider for guidance.
Step-by-Step Guide to Connect Raspberry Pi Behind Router
Now that we've covered the basics, let's dive into the step-by-step process of connecting your Raspberry Pi behind a router. Follow these instructions carefully, and you'll be good to go in no time.
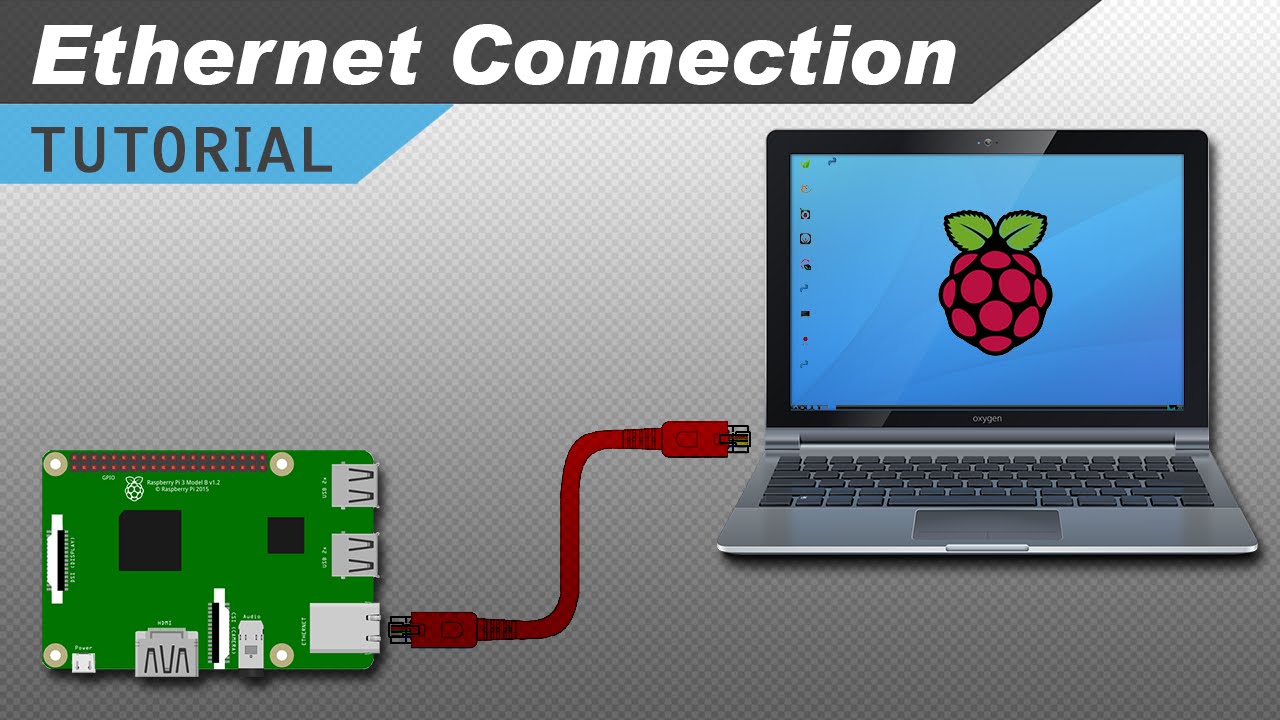
1. Connect Raspberry Pi to Router via Ethernet
One of the simplest ways to connect your Raspberry Pi is through an Ethernet cable. Simply plug one end of the cable into your Pi's Ethernet port and the other into one of your router's LAN ports. Voila! Your Pi should now be connected to your network. If you're using a Raspberry Pi without an Ethernet port, consider investing in a USB Ethernet adapter.
Read also:Colin Farrells Black Girlfriend A Deep Dive Into Love Diversity And Hollywood
2. Configure Wi-Fi Settings
If you prefer a wireless connection, configuring your Raspberry Pi's Wi-Fi settings is a breeze. Start by opening the terminal and typing "sudo nano /etc/wpa_supplicant/wpa_supplicant.conf". Add your network's SSID and password, save the file, and reboot your Pi. Your device should now connect to your Wi-Fi network automatically.
3. Assign a Static IP Address
Assigning a static IP address ensures your Raspberry Pi always has the same network address, which is essential for remote access. To do this, log into your router's admin interface and navigate to the DHCP settings. Reserve an IP address for your Pi based on its MAC address. Alternatively, you can configure a static IP directly on your Pi by editing the "/etc/dhcpcd.conf" file.
Advanced Configuration Options
Once your Raspberry Pi is connected to your router, there are several advanced configuration options you can explore to enhance its functionality.
Port Forwarding
Port forwarding allows you to access your Raspberry Pi from outside your local network. This is particularly useful if you're running a web server or other services that require external access. To set up port forwarding, log into your router's admin interface and create a rule that maps an external port to your Pi's internal IP address.
SSH Access
Secure Shell (SSH) is a protocol that allows you to remotely access and manage your Raspberry Pi. To enable SSH, open the terminal and type "sudo raspi-config". Navigate to the "Interfacing Options" menu, enable SSH, and reboot your Pi. You can then connect to your Pi from another computer using an SSH client like PuTTY.
VNC for Remote Desktop
If you prefer a graphical interface, consider setting up VNC (Virtual Network Computing). This allows you to access your Raspberry Pi's desktop environment remotely. Install the VNC server on your Pi and the VNC client on your computer. Once configured, you'll be able to control your Pi as if you were sitting right in front of it.
Security Best Practices
Security should always be a top priority when connecting your Raspberry Pi to a network. Here are a few tips to keep your device safe:
- Change the default username and password to something strong and unique.
- Disable unnecessary services and ports to reduce potential attack vectors.
- Regularly update your Pi's software to patch any security vulnerabilities.
- Consider using a firewall to further protect your device.
Troubleshooting Common Issues
Even the best-laid plans can sometimes go awry. If you're having trouble connecting your Raspberry Pi to your router, here are a few common issues and their solutions:
1. No Internet Connection
Check your Ethernet or Wi-Fi settings to ensure they're configured correctly. Verify that your router is functioning properly and try rebooting both your router and Pi.
2. Unable to Access Pi Remotely
Make sure SSH or VNC is enabled and properly configured. Double-check your port forwarding settings and ensure your firewall isn't blocking incoming connections.
3. Slow Network Performance
Try switching to a wired connection if you're currently using Wi-Fi. Ensure your router is positioned for optimal signal strength and consider upgrading to a faster model if necessary.
Real-World Applications
Connecting your Raspberry Pi behind a router opens up a world of possibilities. Here are a few real-world applications you might consider:
- Home automation systems
- Media servers
- Web servers
- Security cameras
Conclusion
Connecting your Raspberry Pi behind a router is a straightforward process that offers numerous benefits. From enhanced security to simplified network management, this setup is a must for anyone serious about their Pi projects. Remember to follow best practices and regularly update your device to ensure optimal performance and protection.
So, what are you waiting for? Get out there and start experimenting with your Raspberry Pi. And don't forget to share your experiences and creations with the community. Who knows—you might just inspire someone else to join the Raspberry Pi revolution!
Table of Contents