Ever wondered how to access Raspberry Pi VNC over the internet using Windows? Well, you’re not alone. Many tech enthusiasts, hobbyists, and even professionals are diving deep into the world of remote access to manage their Raspberry Pi projects from anywhere in the world. But hold up, before we dive into the nitty-gritty, let’s first break it down for you. Accessing your Raspberry Pi remotely isn’t just about convenience—it’s about taking control of your projects no matter where you are.
Imagine being able to monitor your home security system, control IoT devices, or even manage a server setup—all from the comfort of your laptop while sipping coffee in a café miles away. That’s the power of remote access. And guess what? With VNC, you can do all this and more. But hey, it’s not as easy as it sounds. There are a few tricks, tips, and best practices you need to follow to make sure everything runs smoothly.
In this guide, we’ll walk you through step-by-step on how to set up VNC on your Raspberry Pi and access it over the internet using Windows. No rocket science, just plain old tech talk that even a newbie can follow. So, buckle up and let’s get started!
Read also:Greg Gutfeld Spouse The Story Behind The Comedianrsquos Love Life
Here’s a quick table of contents to help you navigate through the guide:
- Setting Up VNC on Raspberry Pi
- Accessing VNC Over the Internet
- Connecting from Windows
- Securing Your VNC Connection
- Troubleshooting Common Issues
- VNC Alternatives for Raspberry Pi
Setting Up VNC on Raspberry Pi
Alright, let’s kick things off by setting up VNC on your Raspberry Pi. This is the foundation of everything we’re about to do, so pay close attention. First things first, you’ll need to enable VNC on your Raspberry Pi. Don’t worry, it’s not as complicated as it sounds.
Step 1: Install VNC Server
To get started, boot up your Raspberry Pi and open the terminal. If you’re not a fan of typing commands, you can also do this through the Raspberry Pi Configuration tool. But hey, where’s the fun in that? Here’s what you need to type:
- sudo apt update
- sudo apt install realvnc-vnc-server realvnc-vnc-viewer
Once the installation is done, you’re good to go. But wait, there’s more. You’ll also need to enable the VNC server.
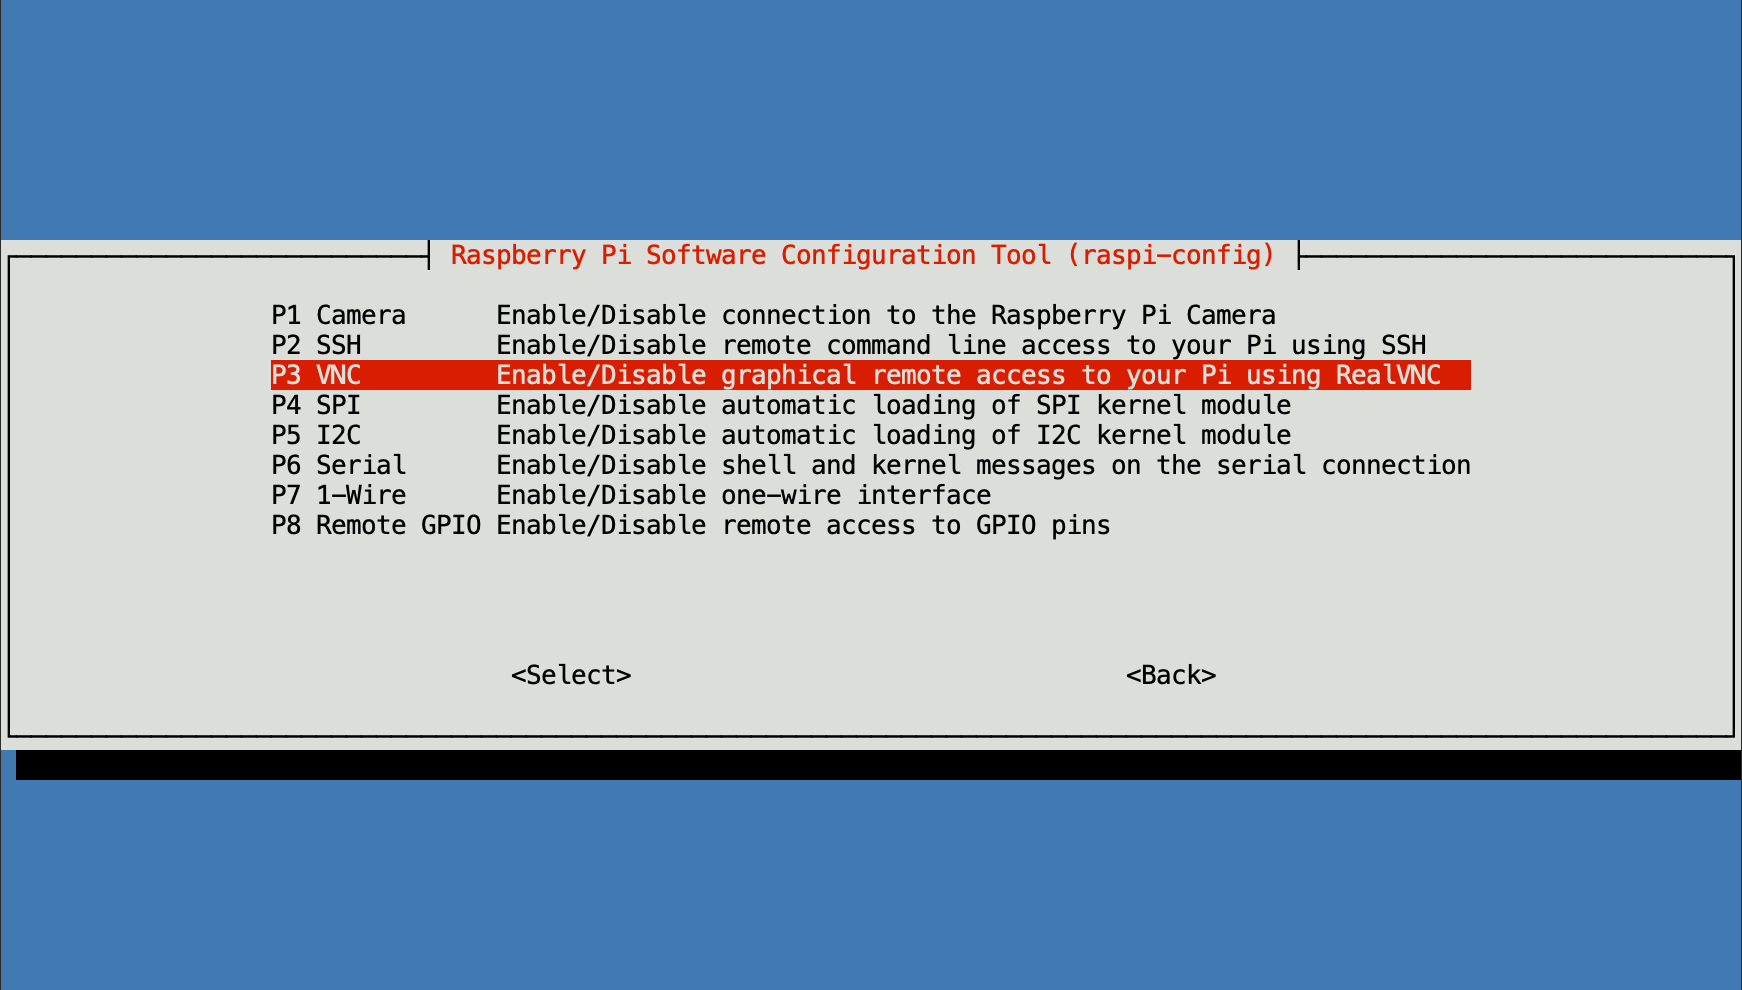
Step 2: Enable VNC
Head over to the Raspberry Pi Configuration tool by typing:
- sudo raspi-config
From there, navigate to Interfacing Options > VNC and enable it. Easy peasy, right?
Read also:Skay Hdin Your Ultimate Guide To Highdefinition Streaming In 2023
Accessing VNC Over the Internet
Now that you’ve got VNC up and running on your Raspberry Pi, it’s time to take it to the next level—accessing it over the internet. But hold up, there are a few things you need to consider before you dive in.
Step 1: Configure Port Forwarding
Port forwarding is like giving your Raspberry Pi a direct line to the outside world. To do this, you’ll need to log into your router and set up port forwarding for port 5900. Don’t worry if this sounds like a foreign language. Most routers have a simple interface that makes this process a breeze.
Step 2: Get Your Public IP Address
Your public IP address is like your house number on the internet. You’ll need this to connect to your Raspberry Pi from anywhere. Just head over to Google and type “what is my IP” and voilà! There it is.
Connecting from Windows
Alright, now that everything’s set up on the Raspberry Pi side, it’s time to connect from your Windows machine. This is where the magic happens. But first, you’ll need a VNC client. Don’t sweat it, we’ve got you covered.
Step 1: Install a VNC Client
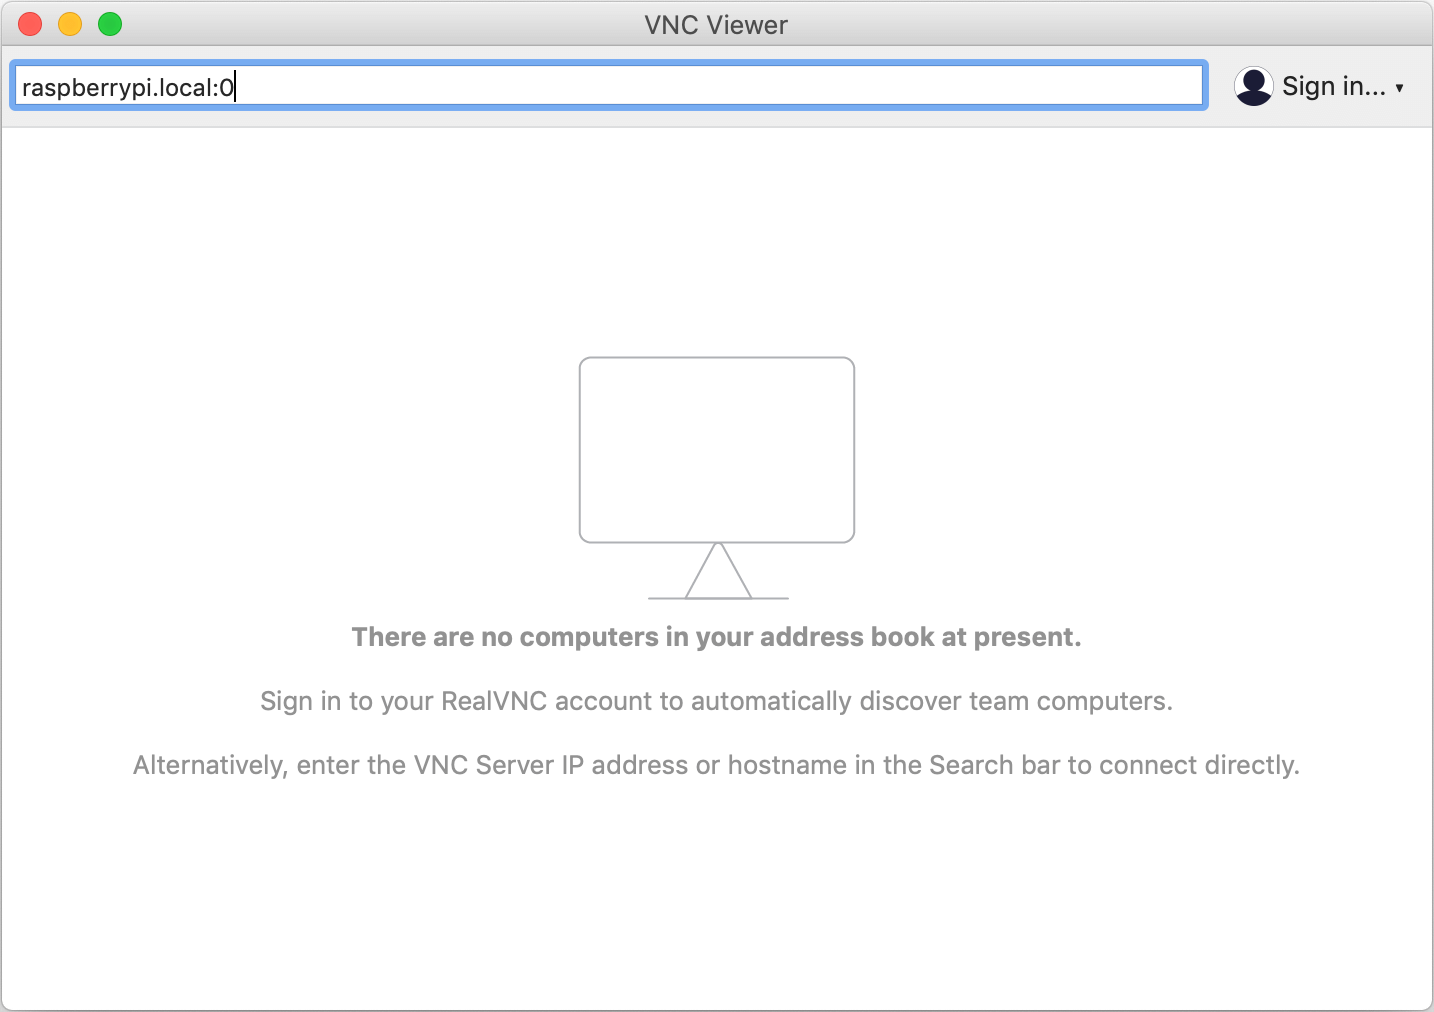
There are tons of VNC clients out there, but we recommend using RealVNC Viewer. It’s reliable, secure, and best of all, it’s free for personal use. Just download and install it from the official website.
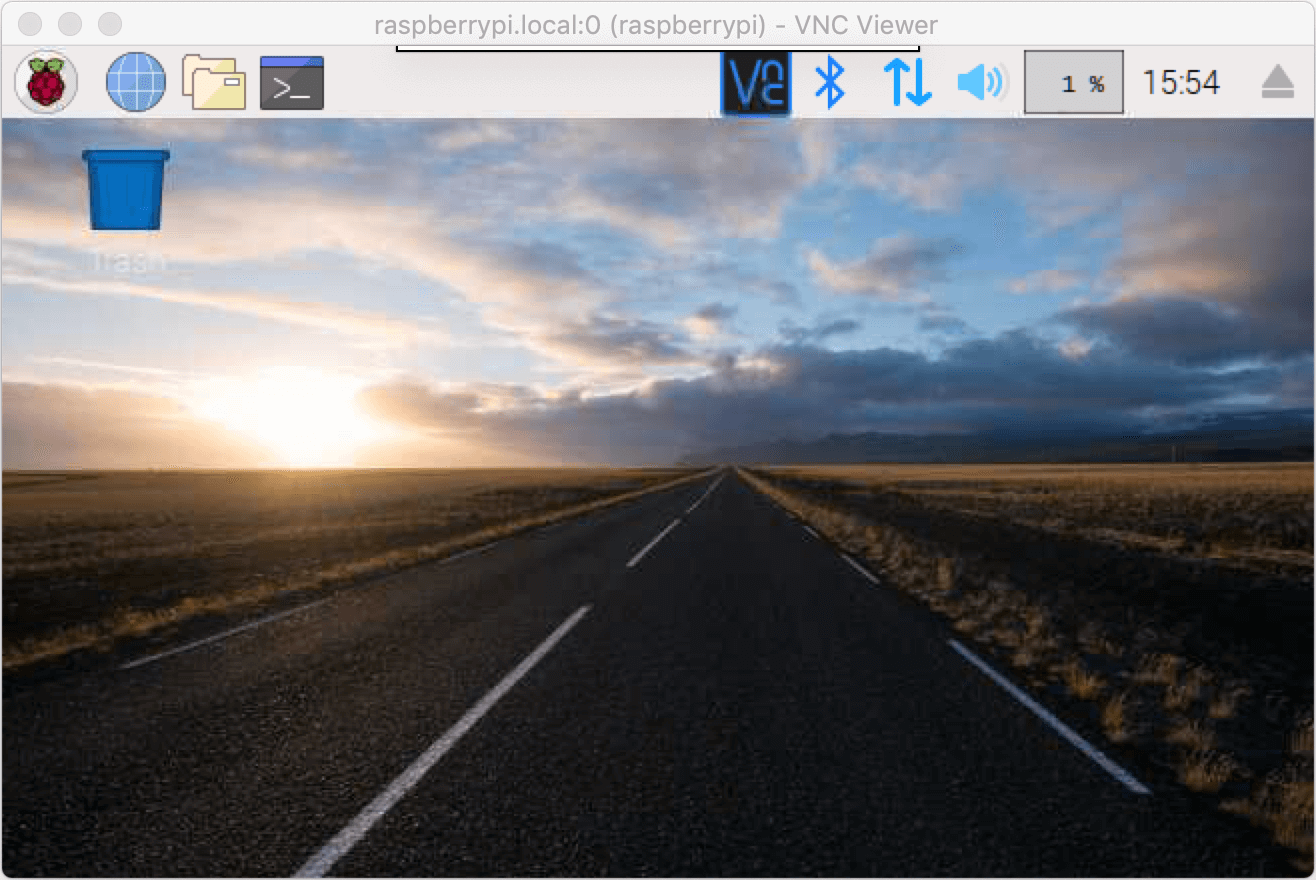
Step 2: Connect to Your Raspberry Pi
Once you’ve installed the VNC client, open it up and enter your Raspberry Pi’s public IP address followed by :5900. For example, if your IP is 123.456.789.012, you’d type 123.456.789.012:5900. Easy, right?
Securing Your VNC Connection
Security is a big deal when it comes to remote access. You don’t want some random hacker gaining access to your Raspberry Pi, do you? Here are a few tips to keep your VNC connection secure.
Tip 1: Use Strong Passwords
It’s no secret that weak passwords are a hacker’s best friend. Make sure you use a strong, unique password for your Raspberry Pi. Mix it up with numbers, symbols, and uppercase letters.
Tip 2: Enable Encryption
Encryption is like putting a lock on your data. Most VNC clients support encryption, so make sure you enable it. This will ensure that your data is safe from prying eyes.
Troubleshooting Common Issues
Even the best-laid plans can go awry. If you’re having trouble connecting to your Raspberry Pi, here are a few common issues and how to fix them.
Issue 1: Connection Refused
If you’re getting a “connection refused” error, chances are your port forwarding isn’t set up correctly. Double-check your router settings and make sure port 5900 is forwarded to your Raspberry Pi’s local IP address.
Issue 2: Invalid Password
Forgot your password? Don’t worry, it happens to the best of us. Just reset your Raspberry Pi’s password and try again. Trust me, it’s not as bad as it sounds.
VNC Alternatives for Raspberry Pi
VNC isn’t the only game in town. If you’re looking for alternatives, here are a few options to consider.
Option 1: SSH
SSH is a secure way to access your Raspberry Pi from anywhere. While it doesn’t offer a graphical interface like VNC, it’s a great option for command-line junkies.
Option 2: TeamViewer
TeamViewer is another popular choice for remote access. It’s easy to set up and offers a ton of features, but it might be a bit overkill for simple projects.
Wrapping It Up
And there you have it, folks. A step-by-step guide on how to access Raspberry Pi VNC over the internet using Windows. Whether you’re a seasoned pro or a complete newbie, this guide has got you covered. Remember, security is key, so always use strong passwords and enable encryption.
Now it’s your turn to take the reins and start exploring the world of remote access. Got any questions or tips of your own? Drop them in the comments below. And if you found this guide helpful, don’t forget to share it with your friends. Until next time, happy tinkering!