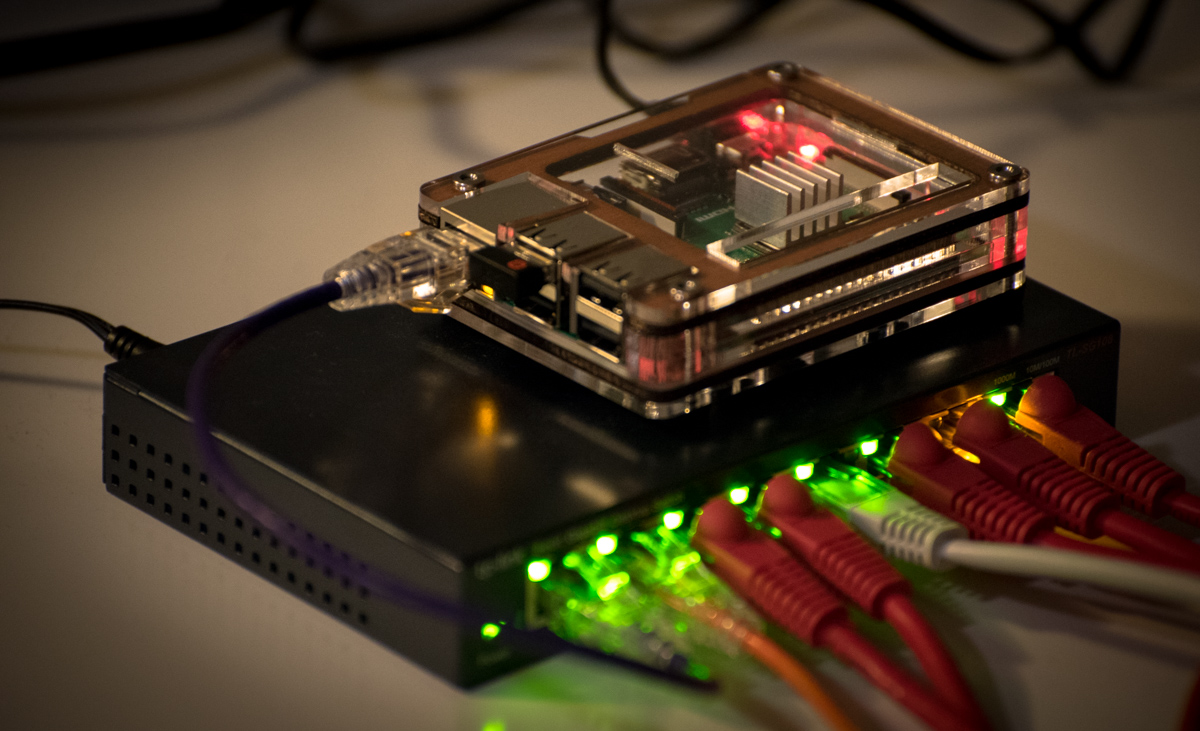
So, you’ve got this cool Raspberry Pi sitting on your desk, ready to take over the world—or at least your home network. But here's the catch: it’s hiding behind a router, and you want to control it remotely from anywhere in the universe. Sounds like a challenge? Don’t sweat it. We’ve got you covered. Today, we’re diving deep into how to control Raspberry Pi behind a router without losing your mind.
Let’s face it, controlling a Raspberry Pi remotely is like giving your little device superpowers. Imagine being able to access your files, run scripts, or even stream media from anywhere, anytime. But when your Pi is tucked away behind a router, things can get a little tricky. That’s where this guide comes in. We’ll break it down step by step, so even if you’re new to networking, you’ll be able to navigate through it like a pro.
Now, before we dive into the nitty-gritty, let’s talk about why this is important. Whether you’re a tech enthusiast, a DIY hobbyist, or someone who just wants to keep their smart home running smoothly, controlling your Raspberry Pi remotely can save you tons of time and effort. And hey, who doesn’t love a bit of convenience, right? So, let’s get started and unlock the full potential of your Pi!
Read also:David Witts Wife The Untold Story You Wonrsquot Believe
Understanding the Basics: What Does "Behind a Router" Mean?
Alright, let’s start with the basics. When we say your Raspberry Pi is "behind a router," what we really mean is that it’s connected to your local network through a router. Think of the router as a bouncer at a club—it controls who gets in and who doesn’t. Your Pi is like one of the cool kids inside the club, but you’re trying to reach it from the outside. That’s where things get a little complicated.
When you’re on the same network, accessing your Pi is a breeze. But when you’re outside the network, you need a way to bypass the router’s defenses. This is where techniques like port forwarding, dynamic DNS, and SSH tunnels come into play. We’ll cover all of these in detail, but first, let’s talk about why understanding your network setup is crucial.
Why Knowing Your Network Setup Matters
Knowing your network setup is like having a map before embarking on a road trip. Without it, you’re just driving blind. Here’s what you need to figure out:
- Your router’s IP address: This is usually something like 192.168.1.1 or 192.168.0.1. It’s the gateway to your local network.
- Your Raspberry Pi’s IP address: This is the unique identifier for your Pi within your network. You’ll need this to set up port forwarding.
- Your public IP address: This is the address your router uses to connect to the internet. Think of it as your home’s street address.
Once you’ve got these details, you’ll be ready to move on to the next step. But remember, every network is different, so don’t be afraid to experiment a little.
Setting Up Port Forwarding for Raspberry Pi
Port forwarding is like creating a secret tunnel through your router’s defenses. It allows you to direct incoming traffic from the internet to your Raspberry Pi. Here’s how you can set it up:
Step 1: Log in to your router’s admin interface. You can usually do this by typing your router’s IP address into a browser.
Read also:What Shows Did Simon Cowell Create The Untold Story Behind The Iconic Tv Producer
Step 2: Find the port forwarding section. It might be under advanced settings or firewall settings, depending on your router.
Step 3: Create a new rule. You’ll need to specify the external port (the one facing the internet) and the internal port (the one connected to your Pi). For example, you might set up port 22 for SSH access.
Step 4: Save your settings and test the connection. You can use a tool like YouGetSignal to check if your port is open.
Troubleshooting Port Forwarding Issues
Sometimes, things don’t go as planned. If you’re having trouble with port forwarding, here are a few things to check:
- Make sure your router supports port forwarding. Some older models might not have this feature.
- Double-check your IP addresses. A small typo can cause big problems.
- Restart your router and try again. Sometimes, a simple reboot can fix the issue.
If all else fails, consult your router’s manual or contact your ISP for support. They might have some insights that can help.
Using Dynamic DNS for Easier Access
Dynamic DNS (DDNS) is like giving your Raspberry Pi a nickname that’s easier to remember. Instead of having to remember a long string of numbers (your public IP address), you can use a domain name like mypi.example.com. Here’s how it works:
When your public IP address changes (which happens more often than you’d think), DDNS automatically updates the domain name to point to the new address. This means you can always access your Pi using the same domain name, no matter what.
Setting Up DDNS for Raspberry Pi
Step 1: Sign up for a DDNS service. There are plenty of free and paid options out there, like No-IP, DuckDNS, or Dyn.
Step 2: Install the DDNS client on your Raspberry Pi. Most services provide a script that you can run to keep your domain name updated.
Step 3: Configure your router to work with DDNS. Some routers have built-in support for DDNS, which can make the setup process easier.
With DDNS in place, accessing your Pi from anywhere becomes a breeze. Just remember to keep your domain name secure and avoid using easily guessable passwords.
Securing Your Raspberry Pi for Remote Access
Security should always be a top priority when setting up remote access for your Raspberry Pi. After all, you don’t want some random hacker taking over your device. Here are a few tips to keep your Pi safe:
- Use strong passwords: Avoid using common passwords like "password" or "123456." Instead, go for something complex and unique.
- Enable SSH keys: SSH keys provide an extra layer of security by requiring a private key to access your Pi.
- Disable root login: Root access gives full control over your Pi, so it’s best to disable it for remote access.
By following these tips, you can ensure that your Raspberry Pi remains secure, even when accessed from outside your network.
Advanced Security Measures
If you’re feeling adventurous, you can take your security to the next level with these advanced measures:
- Set up a firewall: A firewall can block unauthorized access to your Pi by filtering incoming traffic.
- Use a VPN: A virtual private network (VPN) can encrypt your connection, making it much harder for hackers to intercept your data.
- Monitor your logs: Regularly checking your system logs can help you identify any suspicious activity.
Remember, security is an ongoing process. Stay vigilant and keep your software up to date to protect your Pi from potential threats.
Connecting to Raspberry Pi via SSH
SSH (Secure Shell) is one of the most popular methods for controlling a Raspberry Pi remotely. It allows you to access your Pi’s terminal from anywhere in the world. Here’s how you can set it up:
Step 1: Enable SSH on your Raspberry Pi. You can do this by running the command `sudo raspi-config` and selecting the SSH option.
Step 2: Install an SSH client on your computer. If you’re using Windows, PuTTY is a great option. On macOS and Linux, you can use the built-in terminal.
Step 3: Connect to your Pi by entering its IP address or domain name into the SSH client. You’ll also need to provide your username and password.
Using SSH Tunnels for Extra Security
SSH tunnels can add an extra layer of security to your remote connections. They work by encrypting your data as it travels between your computer and your Raspberry Pi. Here’s how you can set one up:
Step 1: Open a terminal on your computer and enter the command `ssh -L local_port:destination_host:destination_port username@remote_host`.
Step 2: Replace `local_port`, `destination_host`, `destination_port`, and `username@remote_host` with the appropriate values for your setup.
Step 3: Test the connection by accessing the service you’re tunneling through your local port.
With SSH tunnels in place, your data stays safe and secure, even when traveling across the internet.
Alternative Methods for Remote Access
SSH isn’t the only way to control your Raspberry Pi remotely. Here are a few alternative methods you might want to consider:
- VNC (Virtual Network Computing): VNC allows you to access your Pi’s graphical interface from a remote computer. It’s perfect for tasks that require a GUI.
- Web-based interfaces: Some applications, like Pi-hole or Home Assistant, come with web-based interfaces that you can access from any browser.
- Third-party apps: Apps like TeamViewer or AnyDesk can provide easy remote access without the need for complex setups.
Each method has its own advantages and disadvantages, so choose the one that best fits your needs.
Choosing the Right Method for You
When deciding which method to use, consider factors like security, ease of use, and the type of tasks you’ll be performing. If you’re comfortable with the command line, SSH might be the way to go. But if you prefer a graphical interface, VNC could be a better choice.
Troubleshooting Common Issues
Even with the best setup, things can go wrong. Here are some common issues you might encounter and how to fix them:
- Can’t connect to Pi: Double-check your IP addresses and make sure port forwarding is set up correctly.
- Connection drops frequently: This could be due to a weak internet connection or a firewall blocking your traffic. Try adjusting your settings or using a different port.
- Security alerts: If you notice unusual activity, change your passwords immediately and review your security settings.
By staying proactive and addressing issues as they arise, you can ensure that your Raspberry Pi remains accessible and secure.
When to Seek Professional Help
If you’re stuck and can’t seem to figure things out on your own, it might be time to seek professional help. Reach out to online forums, Reddit communities, or even hire a consultant if you’re working on a critical project.
Conclusion: Take Control of Your Raspberry Pi Today
Controlling your Raspberry Pi behind a router doesn’t have to be a daunting task. With the right tools and a bit of knowledge, you can unlock its full potential and take your projects to the next level. Remember to prioritize security, test your connections regularly, and don’t be afraid to experiment.
So, what are you waiting for? Grab your Pi, roll up your sleeves, and start exploring the possibilities. And don’t forget to share your experiences with us in the comments below. Who knows? You might just inspire someone else to take on their own Raspberry Pi adventure!
Table of Contents