So, you're looking to connect your Raspberry Pi behind a router? Well, buckle up because we're diving deep into this tech adventure. Whether you're a beginner or a seasoned tech enthusiast, this guide is here to help you navigate the world of networking and Raspberry Pi setup. Let's make sure your Pi stays connected without any hiccups.
Connecting a Raspberry Pi behind a router might sound intimidating, but trust me, it's easier than you think. In this article, we'll break down the process step by step, ensuring you don't get lost in technical jargon. This guide is designed for everyone, from hobbyists to professionals, so you're in good hands.
Before we dive into the nitty-gritty, let's quickly understand why connecting Raspberry Pi behind a router is essential. Whether you're setting up a home server, running a media center, or building a smart home system, having your Pi connected to your network is crucial. So, let's get started!
Read also:Jessica Ditzel Age Unveiling The Story Behind The Iconic Fashion Designer
Why Connect Raspberry Pi Behind Router?
First things first, why would you even want to connect your Raspberry Pi behind a router? Well, the answer is simple: security and convenience. By placing your Pi behind a router, you create a secure network environment that protects your device from external threats. Plus, it ensures stable connectivity, which is vital for running long-term projects.
Here are some benefits:
- Enhanced Security: Protect your Pi from unauthorized access.
- Stable Connection: Reliable network performance for your projects.
- Remote Access: Access your Pi from anywhere with proper configuration.
Now that we've established the importance of connecting your Raspberry Pi behind a router, let's move on to the steps!
What You’ll Need to Connect Raspberry Pi Behind Router
Before we jump into the setup process, make sure you have everything you need. Here's a quick checklist:
- Raspberry Pi (any model will do)
- MicroSD card with Raspberry Pi OS installed
- Ethernet cable (optional, for wired connection)
- Router with available ports
- Power supply for Raspberry Pi
- Keyboard and monitor (optional, if you're not using SSH)
Once you've gathered all these essentials, we can proceed to the next step. Don't worry if you're missing a few items; we'll discuss alternatives along the way.
Step-by-Step Guide to Connect Raspberry Pi Behind Router
Now comes the fun part—actually connecting your Raspberry Pi behind a router. Follow these steps carefully, and you'll be up and running in no time.
Read also:Daisy Duke Age The Iconic Character And Her Timeless Legacy
Step 1: Set Up Your Raspberry Pi
Start by setting up your Raspberry Pi. If you haven't already, download the Raspberry Pi OS and flash it onto your microSD card. Once that's done, insert the card into your Pi and power it on. If you're using a headless setup, make sure SSH is enabled in the boot folder.
Step 2: Connect to Your Router
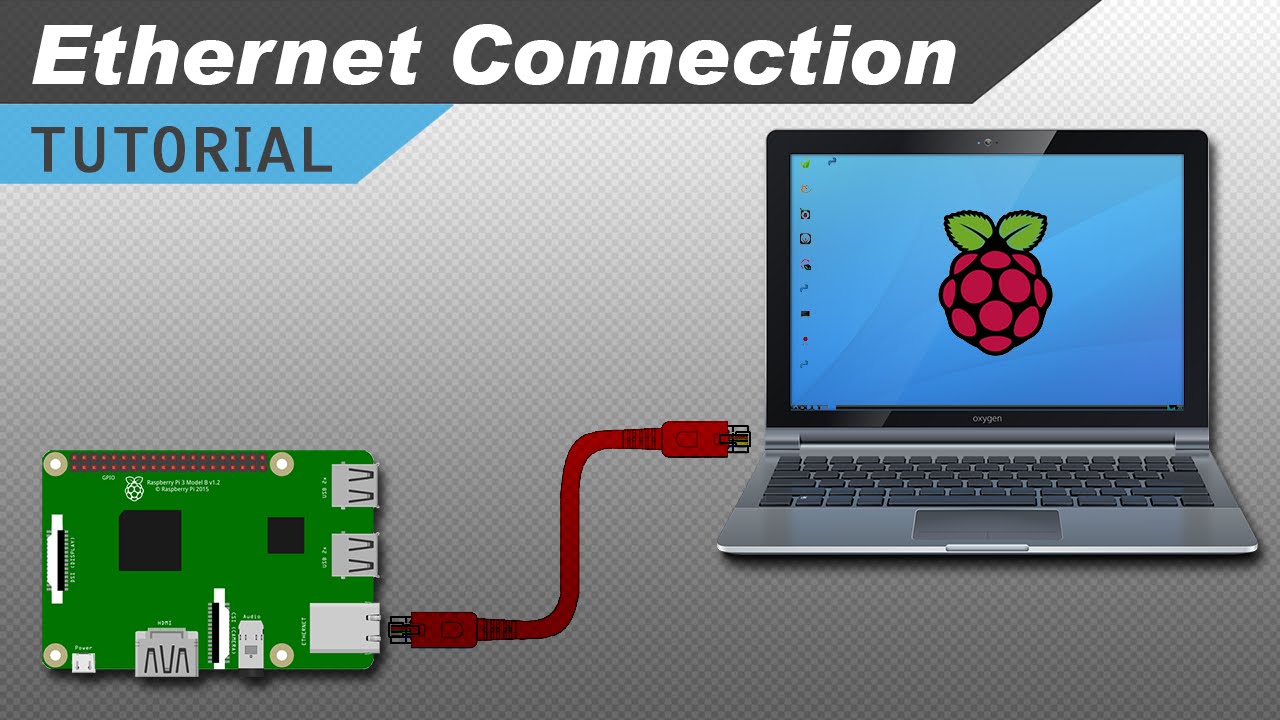
You can connect your Raspberry Pi to your router either via Ethernet or Wi-Fi. For a more stable connection, I recommend using an Ethernet cable. Simply plug one end into your Pi and the other into your router's LAN port. If you prefer Wi-Fi, head to the Raspberry Pi settings and connect to your network.
Step 3: Configure Static IP Address
To ensure your Raspberry Pi always has the same IP address, configure a static IP. This is especially useful if you plan to access your Pi remotely. Open the terminal and use the following commands:
sudo nano /etc/dhcpcd.conf
Add the following lines at the bottom:
interface eth0
static ip_address=192.168.1.100/24
static routers=192.168.1.1
static domain_name_servers=192.168.1.1
Replace the IP addresses with your router's settings. Save and exit, then reboot your Pi.
Troubleshooting Common Issues
Even with the best instructions, things can go wrong. Here are some common issues you might face and how to fix them:
- No Network Connection: Double-check your Ethernet or Wi-Fi settings. Make sure your router is functioning properly.
- Can't Access Pi Remotely: Ensure SSH is enabled and port forwarding is configured on your router.
- Static IP Not Working: Verify the IP address settings and ensure no other device is using the same address.
Still stuck? Don't worry. There's a vibrant community of Raspberry Pi enthusiasts ready to help. Check out forums like Raspberry Pi Stack Exchange or Reddit for additional support.
Advanced Configuration for Raspberry Pi Behind Router
Once you've successfully connected your Raspberry Pi behind a router, you might want to explore advanced configurations. These can enhance your setup and unlock new possibilities.
Port Forwarding
Port forwarding allows you to access your Raspberry Pi from outside your local network. This is particularly useful if you're running a web server or need remote access. To set up port forwarding, log in to your router's admin panel and create a rule that forwards specific ports to your Pi's IP address.
SSH Access
SSH (Secure Shell) lets you control your Raspberry Pi remotely. Make sure SSH is enabled and use a tool like PuTTY (Windows) or Terminal (Mac/Linux) to connect. Use the following command:
ssh pi@192.168.1.100
Replace the IP address with your Pi's actual address.
Security Best Practices for Raspberry Pi Behind Router
Security should always be a top priority when setting up a Raspberry Pi behind a router. Here are some tips to keep your device safe:
- Change the default password for your Pi.
- Enable a firewall to block unauthorized access.
- Regularly update your Pi's software and firmware.
- Use strong, unique passwords for all accounts.
By following these practices, you can minimize the risk of security breaches and protect your projects.
Real-World Applications of Raspberry Pi Behind Router
Connecting your Raspberry Pi behind a router opens up a world of possibilities. Here are some real-world applications:
- Home Automation: Control smart devices and appliances from anywhere.
- Media Server: Stream movies and music to all your devices.
- Web Server: Host your own website or blog.
- Security System: Build a DIY surveillance system with cameras and motion sensors.
These projects not only enhance your tech skills but also add value to your everyday life.
Data and Statistics
According to recent surveys, Raspberry Pi has become one of the most popular single-board computers worldwide. Over 40 million units have been sold since its launch, proving its versatility and reliability. In terms of networking, a significant percentage of users connect their Pi devices behind routers, citing security and performance as key reasons.
These numbers highlight the growing demand for DIY tech solutions and the importance of understanding networking basics.
Conclusion
Connecting your Raspberry Pi behind a router is a straightforward process that offers numerous benefits. From enhanced security to stable connectivity, this setup ensures your projects run smoothly. By following the steps outlined in this guide, you can confidently configure your Pi and explore its full potential.
So, what are you waiting for? Grab your Raspberry Pi, connect it to your router, and start building your next big project. Don't forget to share your experiences and creations with the community. And if you found this guide helpful, leave a comment or share it with your friends. Happy tinkering!
Table of Contents
- How to Connect Raspberry Pi Behind Router: A Simple Guide for Tech Enthusiasts
- Why Connect Raspberry Pi Behind Router?
- What You’ll Need to Connect Raspberry Pi Behind Router
- Step-by-Step Guide to Connect Raspberry Pi Behind Router
- Troubleshooting Common Issues
- Advanced Configuration for Raspberry Pi Behind Router
- Security Best Practices for Raspberry Pi Behind Router
- Real-World Applications of Raspberry Pi Behind Router
- Data and Statistics
- Conclusion