Imagine a world where your devices work seamlessly together, even when you're miles away. Well, guess what? That world is here, and it's powered by the best Raspberry Pi remote IoT setup. Whether you're a tech enthusiast, hobbyist, or a professional developer, the Raspberry Pi is your gateway to creating smart, connected systems that make life easier. In this guide, we’ll dive deep into how you can leverage Raspberry Pi to build a remote IoT system that’s not only reliable but also scalable.
Raspberry Pi has become the go-to platform for DIY enthusiasts and tech professionals alike. Its versatility and affordability make it the perfect foundation for remote IoT projects. From home automation to industrial applications, the possibilities are endless. If you’re looking to set up a robust Raspberry Pi remote IoT system, you’re in the right place.
In this article, we’ll explore everything you need to know about building the best Raspberry Pi remote IoT setup. We’ll cover hardware requirements, software configurations, security tips, and more. By the end of this guide, you’ll have all the tools and knowledge to create a system that’s both powerful and efficient. So, buckle up and let’s get started!
Read also:Who Is Crystal Lust Unveiling The Life And Journey Of A Rising Star
Table of Contents
- Introduction to Raspberry Pi Remote IoT
- Essential Hardware for Your Raspberry Pi Remote IoT Setup
- Software Configuration for Raspberry Pi Remote IoT
- Setting Up Your Network for Remote Access
- Securing Your Raspberry Pi Remote IoT System
- Real-World Applications of Raspberry Pi Remote IoT
- Optimizing Your Raspberry Pi for Remote IoT
- Troubleshooting Common Issues
- The Future of Raspberry Pi in Remote IoT
- Conclusion: Building the Best Raspberry Pi Remote IoT Setup
Introduction to Raspberry Pi Remote IoT
When it comes to remote IoT, Raspberry Pi stands out as the ultimate tool. It’s like having a mini computer that can handle complex tasks while maintaining simplicity. But what exactly is a Raspberry Pi remote IoT setup? Simply put, it’s a system that allows you to control and monitor devices remotely using the Raspberry Pi as the central hub. This setup is perfect for projects ranging from home automation to environmental monitoring.
One of the coolest things about Raspberry Pi is its flexibility. You can use it to build a weather station, a smart home system, or even a remote-controlled drone. The possibilities are truly endless. Plus, with the right configuration, you can access your Raspberry Pi from anywhere in the world, making it a powerful tool for remote IoT projects.
Why Choose Raspberry Pi for Remote IoT?
There are several reasons why Raspberry Pi is the best choice for remote IoT. First, it’s affordable. You don’t need to break the bank to get started. Second, it’s supported by a massive community of developers who share tips, tricks, and code snippets. This means you can find solutions to almost any problem you encounter. Lastly, Raspberry Pi is highly customizable, allowing you to tailor your setup to fit your specific needs.
Essential Hardware for Your Raspberry Pi Remote IoT Setup
Before diving into the software side of things, you need to make sure you have the right hardware. A good Raspberry Pi remote IoT setup starts with the right components. Here’s a list of essential hardware you’ll need:
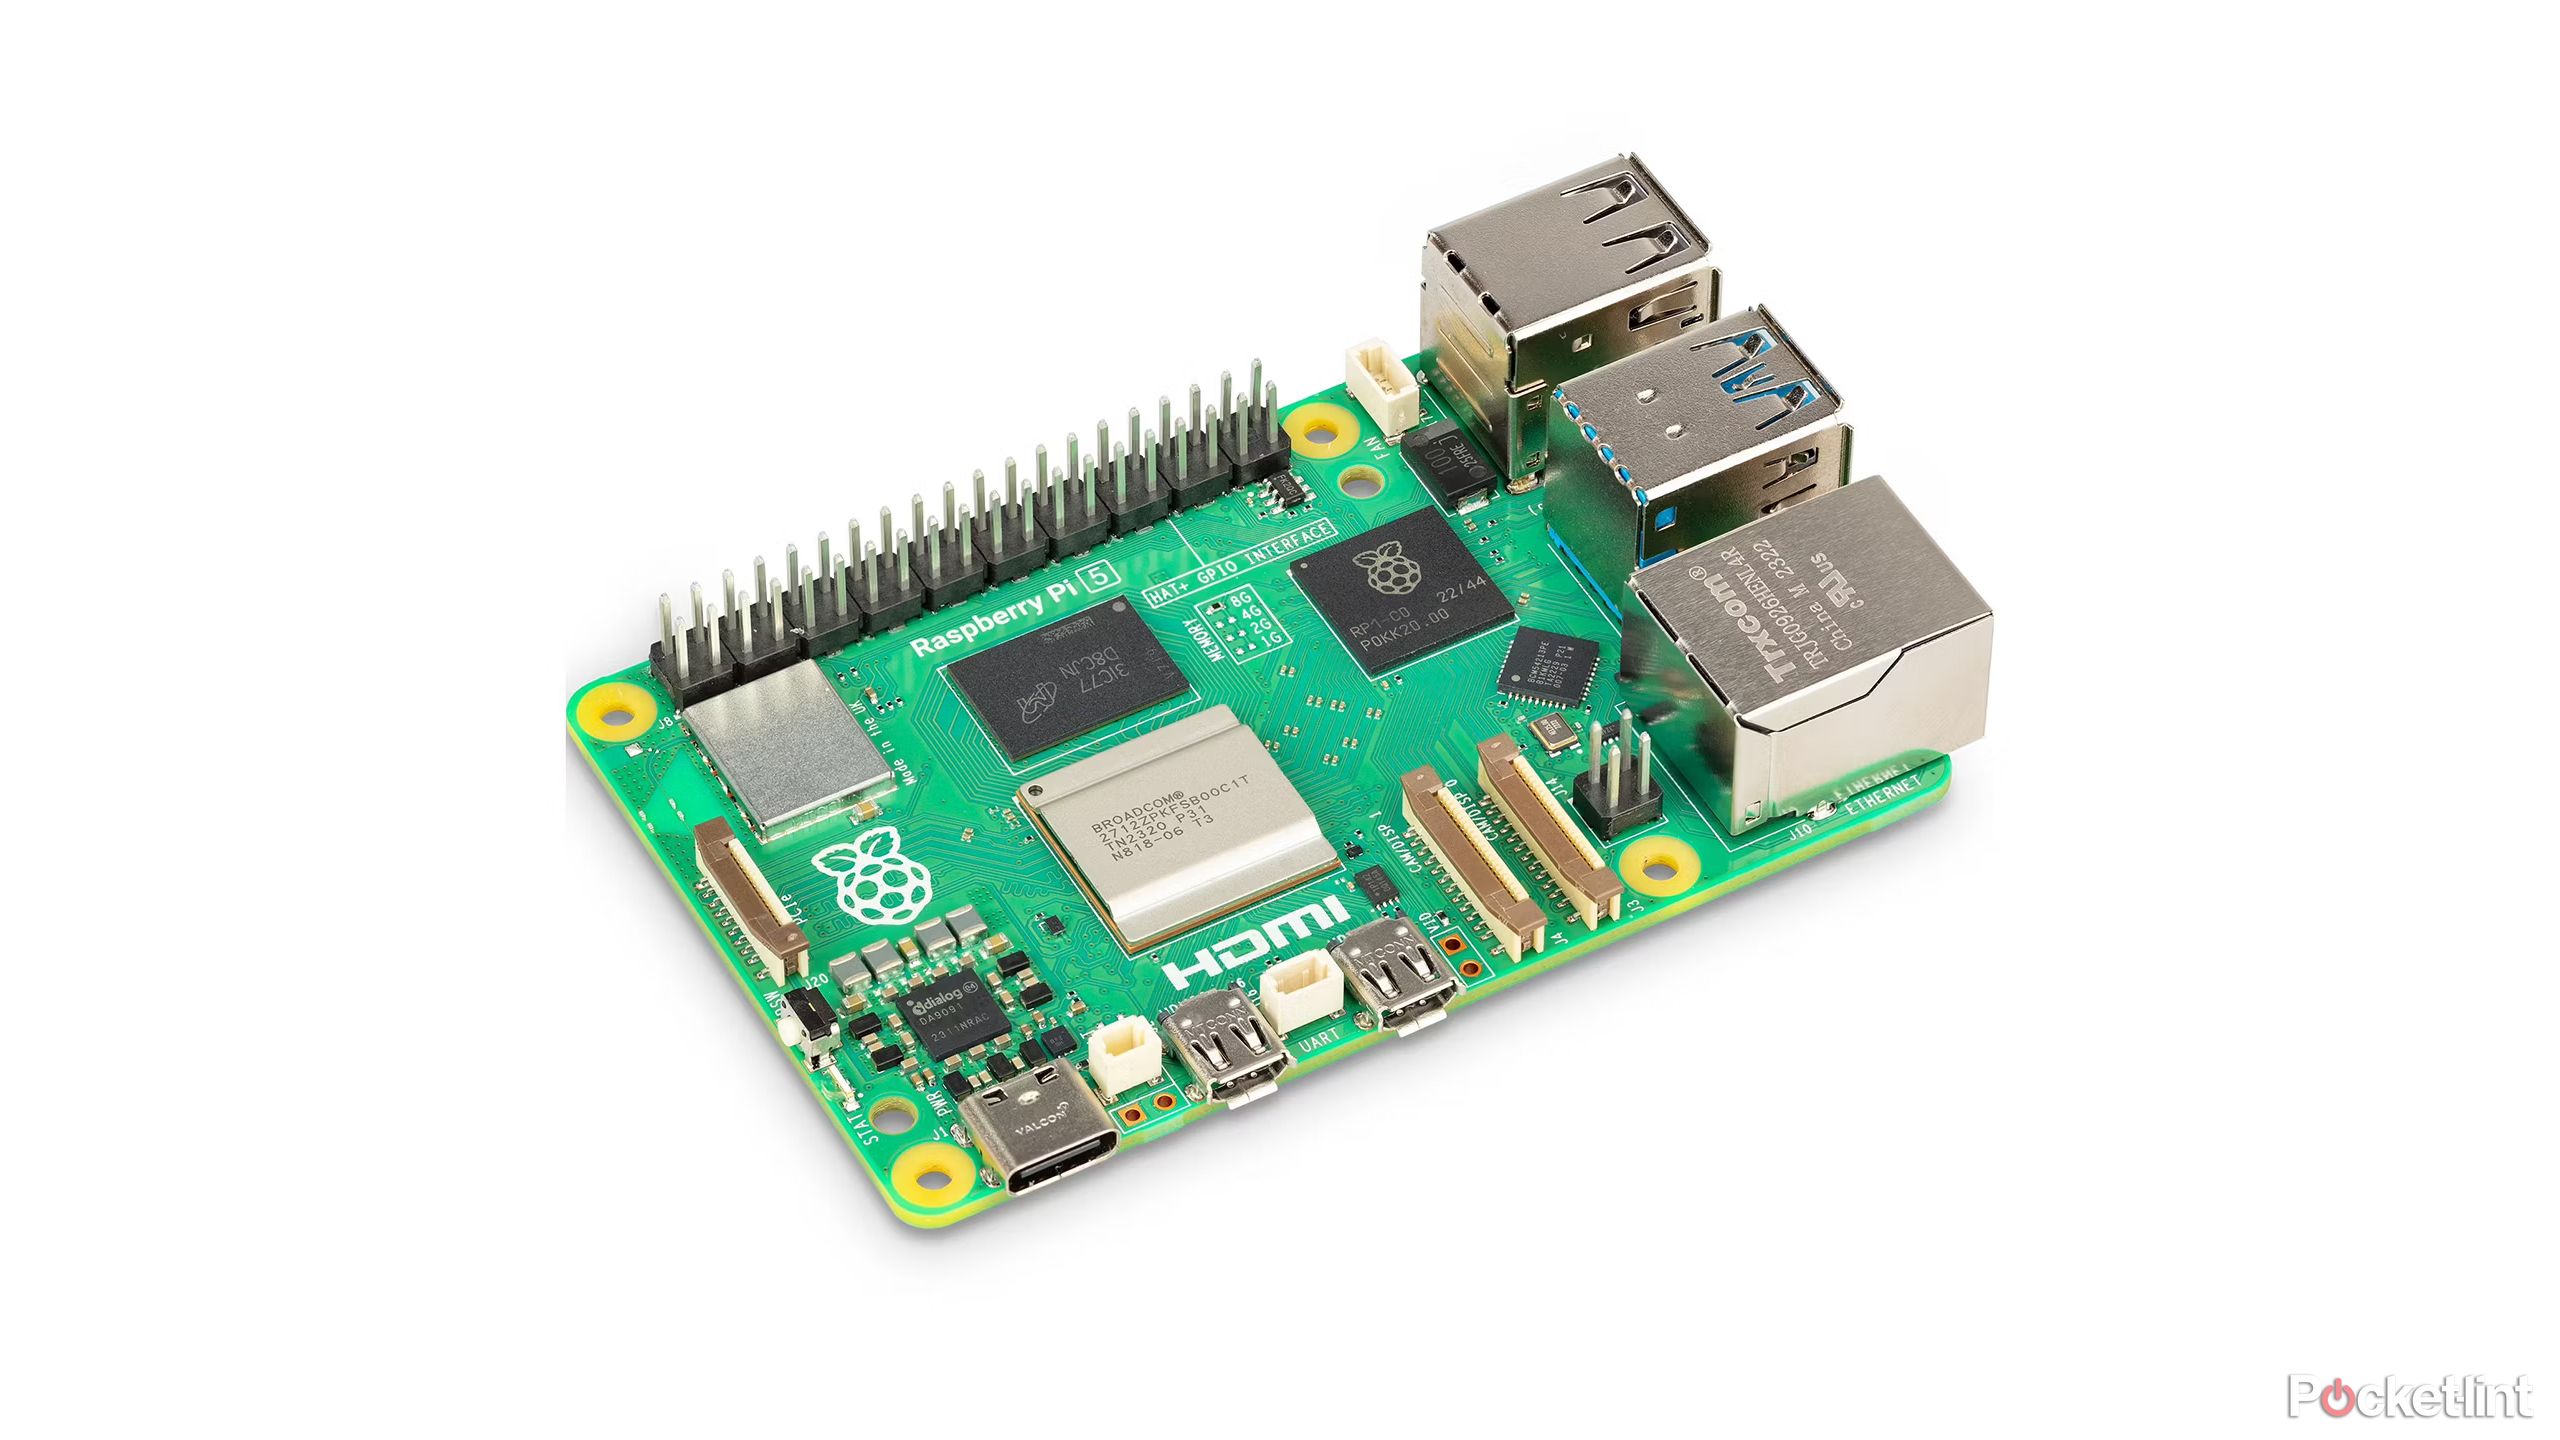
- Raspberry Pi Board (preferably Raspberry Pi 4 or later)
- MicroSD Card with at least 16GB capacity
- Power Supply (official Raspberry Pi power adapter recommended)
- Wi-Fi Adapter (if your Raspberry Pi doesn’t have built-in Wi-Fi)
- Ethernet Cable (optional, for wired connections)
- USB Keyboard and Mouse (for initial setup)
- HDMI Monitor (optional, for setup purposes)
Once you have these components, you’re ready to move on to the next step. Remember, the quality of your hardware can significantly impact the performance of your Raspberry Pi remote IoT system, so don’t skimp on the essentials.
Additional Hardware for Advanced Projects
Depending on your project, you might need additional hardware. For example, if you’re building a weather station, you’ll need sensors for temperature, humidity, and pressure. If you’re setting up a security system, you might want to add cameras and motion detectors. The key is to choose hardware that complements your project and enhances its functionality.
Read also:Jessica Ditzel Children A Closer Look At Their Lives And Inspirations
Software Configuration for Raspberry Pi Remote IoT
Now that you have your hardware sorted, it’s time to focus on the software side. The best Raspberry Pi remote IoT setup requires a solid software foundation. Here’s a step-by-step guide to configuring your Raspberry Pi for remote IoT:
First, you’ll need to install an operating system on your Raspberry Pi. The most popular choice is Raspberry Pi OS, but there are other options like Ubuntu and Raspbian. Once you’ve installed the OS, you’ll need to configure it for remote access. This usually involves setting up SSH (Secure Shell) and VNC (Virtual Network Computing) for remote control.
Setting Up SSH for Secure Remote Access
SSH is a protocol that allows you to securely access your Raspberry Pi from another device. To enable SSH on your Raspberry Pi, follow these steps:
- Open the Raspberry Pi Configuration tool
- Go to the Interfaces tab
- Select SSH and enable it
- Reboot your Raspberry Pi
With SSH enabled, you can now connect to your Raspberry Pi from any device with an SSH client. This is especially useful if you want to manage your system remotely without needing a physical keyboard and monitor.
Setting Up Your Network for Remote Access
A stable network connection is crucial for any Raspberry Pi remote IoT setup. Whether you’re using Wi-Fi or Ethernet, you need to ensure that your Raspberry Pi can connect to the internet reliably. Here are a few tips to help you set up your network:
First, make sure your Raspberry Pi is connected to your local network. You can do this by plugging in an Ethernet cable or connecting via Wi-Fi. Once connected, you’ll need to find the IP address of your Raspberry Pi. This can usually be done through your router’s admin page or by using the command line.
Using Dynamic DNS for Easy Access
If you plan to access your Raspberry Pi from outside your local network, you’ll need to set up port forwarding on your router. Additionally, using a Dynamic DNS service can make it easier to access your Raspberry Pi without having to remember a complicated IP address. Services like No-IP or DuckDNS offer free Dynamic DNS solutions that work well with Raspberry Pi.
Securing Your Raspberry Pi Remote IoT System
Security should always be a top priority when setting up a remote IoT system. With your Raspberry Pi accessible from anywhere in the world, it’s important to take steps to protect it from unauthorized access. Here are some security tips to keep your system safe:
- Change the default password for your Raspberry Pi
- Use strong, unique passwords for all accounts
- Enable a firewall to block unwanted traffic
- Keep your software and firmware up to date
- Consider using two-factor authentication for added security
By following these tips, you can significantly reduce the risk of your Raspberry Pi being compromised. Remember, a secure system is a reliable system.
Best Practices for IoT Security
In addition to securing your Raspberry Pi, you should also follow best practices for IoT security in general. This includes encrypting data transmissions, using secure communication protocols, and regularly monitoring your system for suspicious activity. Staying vigilant is key to maintaining a secure remote IoT setup.
Real-World Applications of Raspberry Pi Remote IoT
So, what can you actually do with a Raspberry Pi remote IoT setup? The answer is: a lot! Here are some real-world applications that showcase the power of Raspberry Pi in remote IoT:
- Home Automation: Control lights, appliances, and security systems from anywhere
- Environmental Monitoring: Build a weather station or air quality monitor
- Industrial IoT: Use Raspberry Pi to monitor and control industrial processes
- Agricultural IoT: Implement smart farming solutions for better crop management
- Remote Surveillance: Set up a network of cameras for security and monitoring
These are just a few examples of what you can achieve with Raspberry Pi remote IoT. The real beauty lies in its flexibility and adaptability to different use cases.
Case Study: Smart Home Automation with Raspberry Pi
One of the most popular applications of Raspberry Pi remote IoT is home automation. By integrating smart devices like lights, thermostats, and security cameras with your Raspberry Pi, you can create a fully automated home that responds to your needs. For instance, you can set up motion sensors that turn on lights when you enter a room or configure your thermostat to adjust based on your schedule. The possibilities are endless!
Optimizing Your Raspberry Pi for Remote IoT
To get the most out of your Raspberry Pi remote IoT setup, you’ll want to optimize it for performance and efficiency. Here are some tips to help you do just that:
First, consider overclocking your Raspberry Pi to boost its processing power. However, be cautious not to overheat your device. Using a heatsink or fan can help keep your Raspberry Pi cool under heavy load. Additionally, you can optimize your software by disabling unnecessary services and using lightweight applications whenever possible.
Tips for Efficient Resource Management
Efficient resource management is key to maintaining a stable and responsive Raspberry Pi remote IoT system. Here are a few tips to help you manage your resources effectively:
- Monitor CPU and memory usage regularly
- Clear out unused files and applications
- Use caching to speed up data retrieval
- Optimize your code for better performance
By following these tips, you can ensure that your Raspberry Pi runs smoothly even under heavy workloads.
Troubleshooting Common Issues
Even the best Raspberry Pi remote IoT setup can run into problems from time to time. Here are some common issues you might encounter and how to fix them:
- Connection Issues: Check your network settings and ensure your Raspberry Pi is properly connected
- SSH Not Working: Make sure SSH is enabled and try restarting your Raspberry Pi
- Slow Performance: Optimize your software and consider upgrading your hardware
- Security Breaches: Review your security settings and update your system immediately
By addressing these issues promptly, you can keep your Raspberry Pi remote IoT system running smoothly.
When to Seek Help
If you’re unable to resolve an issue on your own, don’t hesitate to seek help from the Raspberry Pi community. There are countless forums, blogs, and social media groups where you can find support and advice. Remember, you’re not alone in this journey!
The Future of Raspberry Pi in Remote IoT
As technology continues to evolve, so does the potential of Raspberry Pi in remote IoT. With advancements in AI, machine learning, and edge computing, the possibilities for Raspberry Pi projects are expanding rapidly. In the future, we can expect to see even more powerful and versatile Raspberry Pi models that can handle complex tasks with ease.
Furthermore, the growing demand for smart, connected devices is driving innovation in the IoT space. As more people adopt IoT solutions, the need for reliable and scalable platforms like Raspberry Pi will only increase. This means that the best Raspberry Pi remote IoT setup today could be just the beginning of something much bigger tomorrow.
Conclusion: Building the Best Raspberry Pi Remote IoT Setup
In conclusion, building the best Raspberry Pi remote IoT setup requires a combination of the right hardware, software, and security measures. By following the tips and guidelines outlined in this article, you can create a system that’s both powerful and reliable. Whether you’re a hobbyist or a professional developer, Raspberry Pi offers the tools and flexibility needed to bring your IoT ideas to life.
So, what are you waiting for? Get started on your Raspberry Pi remote IoT project today! And don’t forget to share your experiences and creations with the community. Together, we can push the boundaries of what’s possible with Raspberry Pi. Happy building!